
Following on from my previous post, custom user models in Django this post builds on top that by helping you implement Google authentication with Django. The advantage of using google authentication or another third party authentication scheme is that you do not have to store or even manage passwords and consequently we get to avoid the myriad of issues associated with it. In fact this allows you to offload a significant security concern on to the organisation that spend millions or even billions on cybersecurity.
The first step in enabling google Authentication with Django is to setup the OAuth2 tokens with google. To do this you will need to log into the google api console. The url is below.
https://console.cloud.google.com/apis/credentials
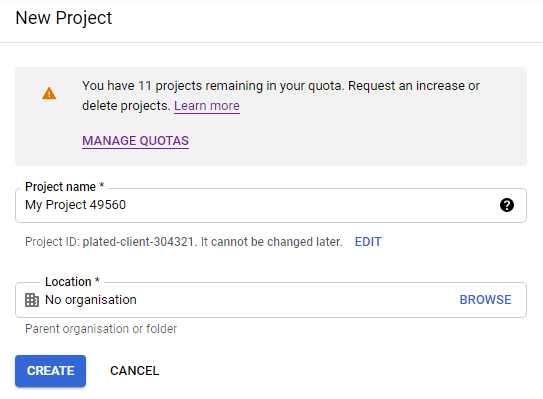
You will need to set up a new project.
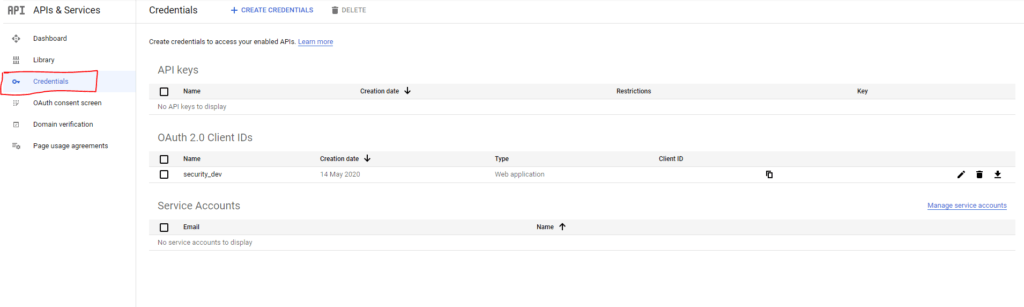
Once you created project the next step is to create the keys. To do this select credentials which is circled in red in the image below.
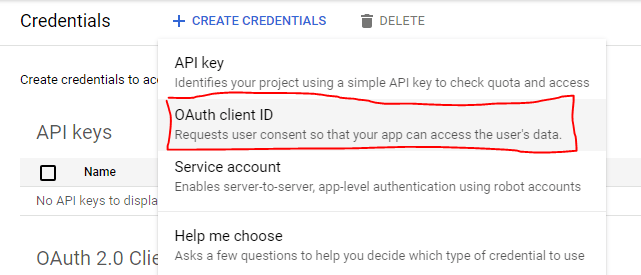
Select create credentials.

Click on OAuth client ID. The other options are not relevant for the task at hand.
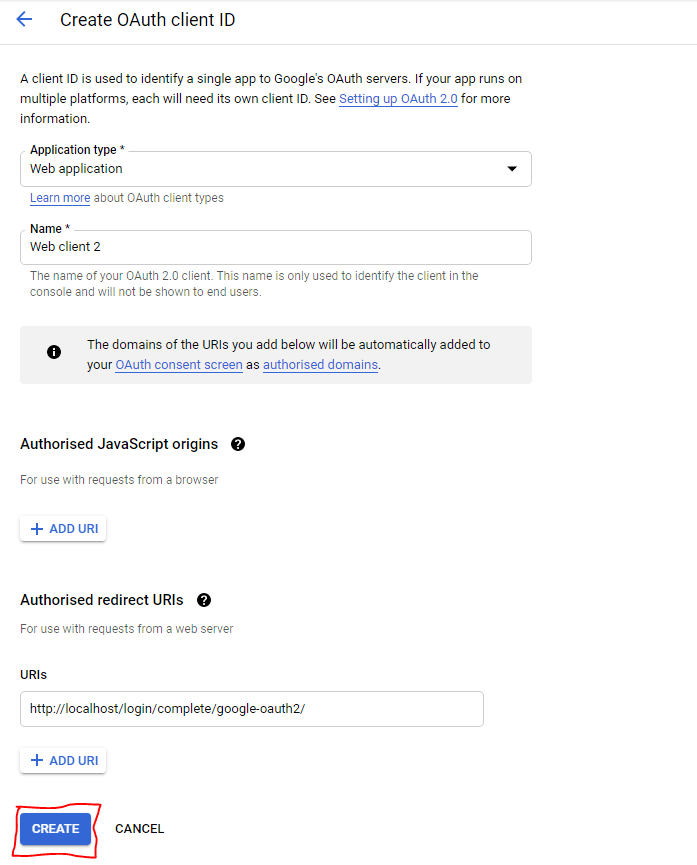
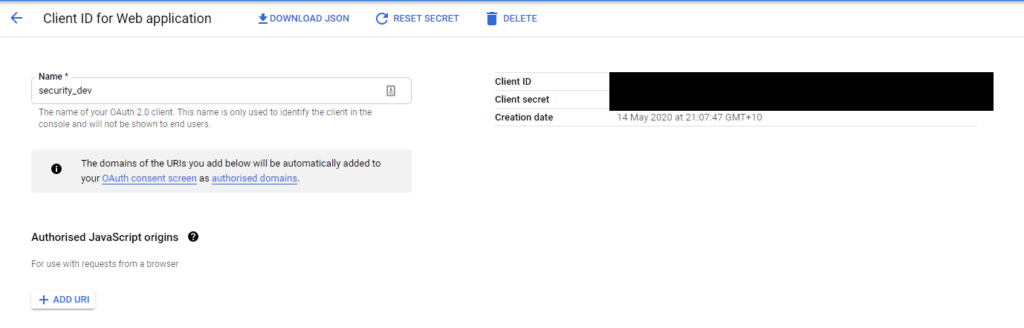
Choose Web Application

Add in the following redirect url exactly. We will use that format when we set up the Django component.
http://localhost/login/complete/google-oauth2/
After this the client id and client secret will be available for you to use.
From here we can go to our Django application, make sure you keep a note of the the client secret and client id as they will be required to access Google authentication.
Google Authentication in Django
The first step to working with third party authentication systems is installing social authentication for django. This will handle most of the background work required to make this work.
pip install social-auth-app-django
Then register the social-auth-app in the settings.py file
INSTALLED_APPS = (
    ...
    'social_django',
    ...
)
You will also need to add in the required authentication backend in the settings.py file. This will use the google oauth in the first instance and local auth in the second instance.
AUTHENTICATION_BACKENDS = (
    'social_core.backends.google.GoogleOAuth2',
    'django.contrib.auth.backends.ModelBackend',
)
In the settings.py add in the following as well, replace <> with the secret and key values you had earlier.
Authentication App SetUp
SOCIAL_AUTH_POSTGRES_JSONFIELD = True
AUTHENTICATION_BACKENDS = (
‘social_core.backends.google.GoogleOAuth2’,
‘django.contrib.auth.backends.ModelBackend’,
)
SOCIAL_AUTH_GOOGLE_OAUTH2_KEY = '<Client ID>'
SOCIAL_AUTH_GOOGLE_OAUTH2_SECRET = '<Client SECRET>'
LOGIN_URL = '/login/google-oauth2'
LOGIN_REDIRECT_URL = '/portal'
We also need to add this into urls.py, this will allow the oauth urls to be made available. The login redirect url is where google will redirect too if login is successful.
urlpatterns = patterns('',
    ...
    url('login/', include('social_django.urls', namespace='social'))
    ...
)
Finally you will need to add in Django template tags to enable Single Sign On. This just writes out a url, so you will need to put in an <a> tag.
{% url "social:begin" "google-oauth2" %}
This will allow you to setup google auth with a custom user model and will allow you to build an awesome application based on Django.